A bow that is strung the right way makes all the difference when you shoot. If your arrows go astray, a poor string job might be to blame. Whether you are just starting out or have been shooting for years, learning how to set your bow up correctly can boost your accuracy and protect your gear. At OneX Archery, we have seen how a well-done stringing process can lead to better shots and a longer-lasting bow. This guide walks you through every step so that you can confidently get your bow ready for action.
Why a Properly Set-Up Bow Matters
A bow that is set up right lets you channel energy smoothly from the limbs to the arrow. When the string sits exactly where it should, each shot feels stable and accurate. If the string is off, it can hurt your performance or even damage your bow. Keep in mind that how you string your bow also changes the brace height — the gap between the string and the grip. This gap affects how fast your arrow flies and how forgiving your shot is. For those using OneX Archery stabilizer weights, getting the string right is the essential first step for creating a solid, balanced shooting experience.
Getting to Know the Basics
Before you get busy with the process, it helps to understand what stringing really does. In simple terms, stringing is about placing the bowstring on your bow so that it creates just the right tension between the limbs. This action bends the bow into its shooting shape. To do this, you need to flex the bow temporarily beyond its resting position to give you the extra slack necessary for a proper fit.
An unstrung recurve bow curves away from you naturally. Once the bow is strung, however, its limbs curve gently toward you. This design stores more energy and gives your arrows extra speed. For a clear visual explanation of how this works, check out Archery GB's comprehensive guide to archery. Knowing these basics helps you see exactly what you need to achieve when you string your bow.
Getting the Right Tools
Before you begin, make sure you have all the tools you need. Using the right gear makes the process smoother and keeps you safe throughout.
Must-Have Gear
The first and most important tool is a bow stringer. This simple device lets you bend your bow safely and attach the string without putting too much strain on the limbs. A bow stringer usually has a strong cord with cups on both ends that fit over the limbs. It spreads the pressure evenly, reducing the risk of twists or damage.
You will also need a bowstring that matches your bow's specifications. Bowstrings come in varying lengths and with different numbers of strands. The wrong string can hurt performance or even damage your bow. If you’re uncertain, check your manual or ask the manufacturer. Having some string wax available is also smart; it keeps your string smooth and extends its life.
In addition, a nocking point tool and serving material can be very useful. After stringing your bow, you might need to adjust where your arrow sits on the string. Getting that nocking point right is key to a stable shooting experience.
Stringing Your Bow, Step by Step
Follow these steps carefully to put the string on your recurve bow safely and correctly. Each step builds toward better accuracy and helps protect your bow.
Getting Your Bow Ready
Start by giving your bow a thorough look-over. Check the limbs for cracks, splinters, or any signs of wear. Look at the string as well, paying special attention to the loops for any fraying. Even tiny imperfections can be a risk when the bow is under tension.
Next, set up your bow correctly. An unstrung bow curves away from you. The bowstring has two loops: the larger one is meant for the bottom limb and the smaller one for the top. If your string isn’t marked, remember that the larger loop always goes on the lower limb. If the string feels dry or is brand new, work some string wax into it with your fingers until it feels smoother and looks slightly darker. This maintenance helps the string perform well for a longer time.
Using Your Bow Stringer
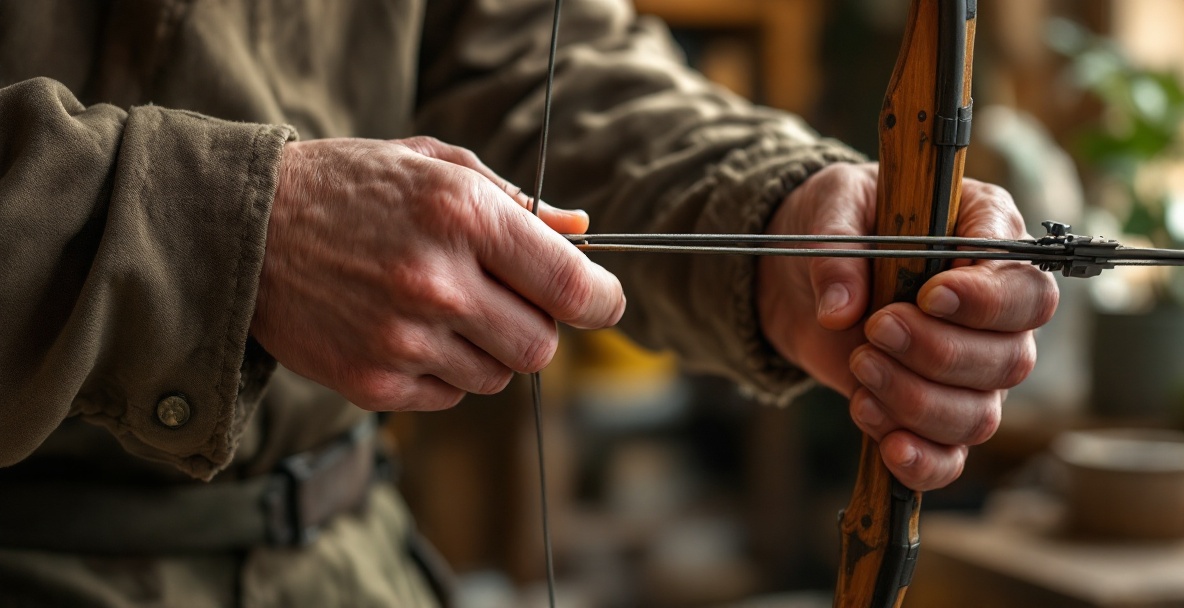
Begin by placing the larger loop into the groove on the bottom limb until it sits snugly. Then, slip the top loop partly into the upper limb, just enough so it stays in place for now.
Next, grab your bow stringer. Fit the cup end over the tip of the lower limb, ensuring a secure grip, and then place the other end over the top limb. The stringer should line up on the same side as your bowstring.
Stand with the bow upright on the lower limb, making sure the string is facing you. Step onto the stringer’s cord with both feet, keeping them roughly shoulder-width apart for stability. This configuration keeps the load off the bowstring itself. With both hands on the handle, lift slowly using your legs to help. As the bow flexes, gently slide the top loop fully into the upper limb groove. Finally, lower the bow gradually to remove tension, then take off the stringer and double-check that the string sits correctly in both grooves.
Stringing Your Bow When You Don't Have a Stringer
There will be times when you do not have your bow stringer nearby. In such cases, you may have to use the step-through method, though it should only be a last resort. First, attach the larger loop to the lower limb as you normally would. Hold the bow horizontally with the string facing up, then step through the bow with your dominant leg so that the inside of your thigh touches the lower limb.
Next, gently rotate the bow around your leg so that the upper limb swings behind your dominant leg and the grip rests against your other leg. Your leg now acts as a brace. Hold the grip with your non-dominant hand and the upper limb with your dominant hand. Slowly pull the upper limb toward you, and as the bow flexes, slide the upper loop into the groove. When the string is properly set, carefully reverse the rotation to free your bow from your leg. Always check the string placement thoroughly afterward. While this method can work when needed, it carries more risk than using a proper stringer.
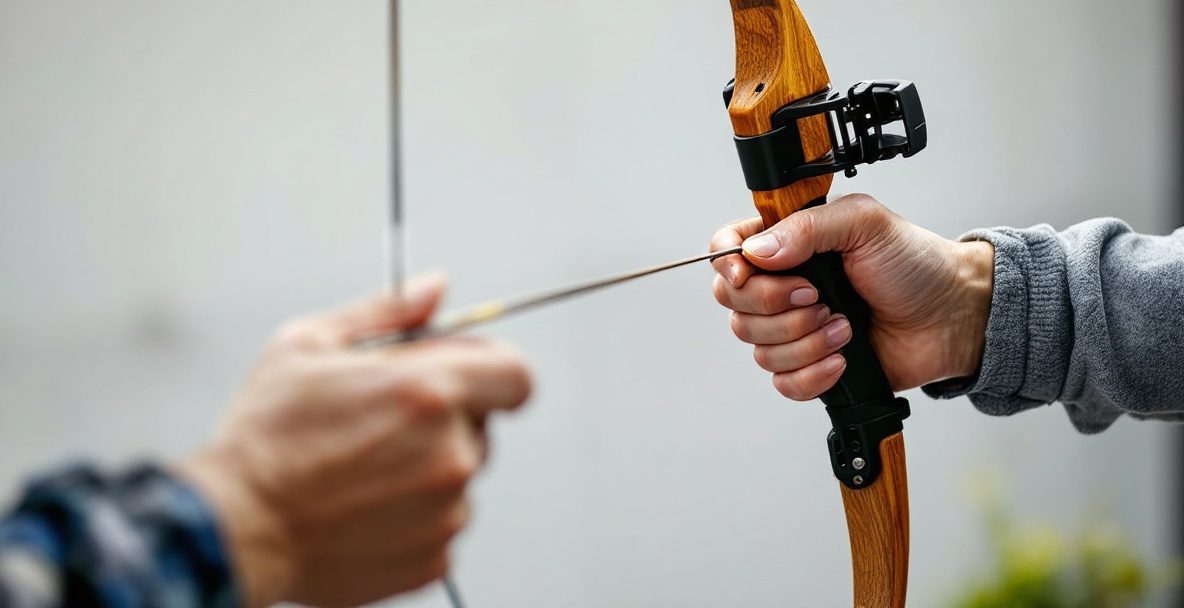
How to Check Your Bow's Brace Height
Once you have your bow strung, it is important to measure the brace height for the best shooting performance. Use a bow square or ruler to measure from the deepest part of the grip to the string. Your bow's manual will tell you the ideal range, usually between 7.5 and 9.75 inches.
If the brace height is too low, turn the string clockwise (when looking from above) to shorten it. If it is too high, untwist the string a little to lengthen it. Make small adjustments, checking the measurement every few twists until it matches the recommendation. A proper brace height works in sync with accessories like OneX Archery stabilizer weights to give you a rock-solid shooting setup.
Troubleshooting Common Problems
Even experienced archers run into issues sometimes. Knowing how to spot and fix these problems can save you time and help keep your bow in top shape.
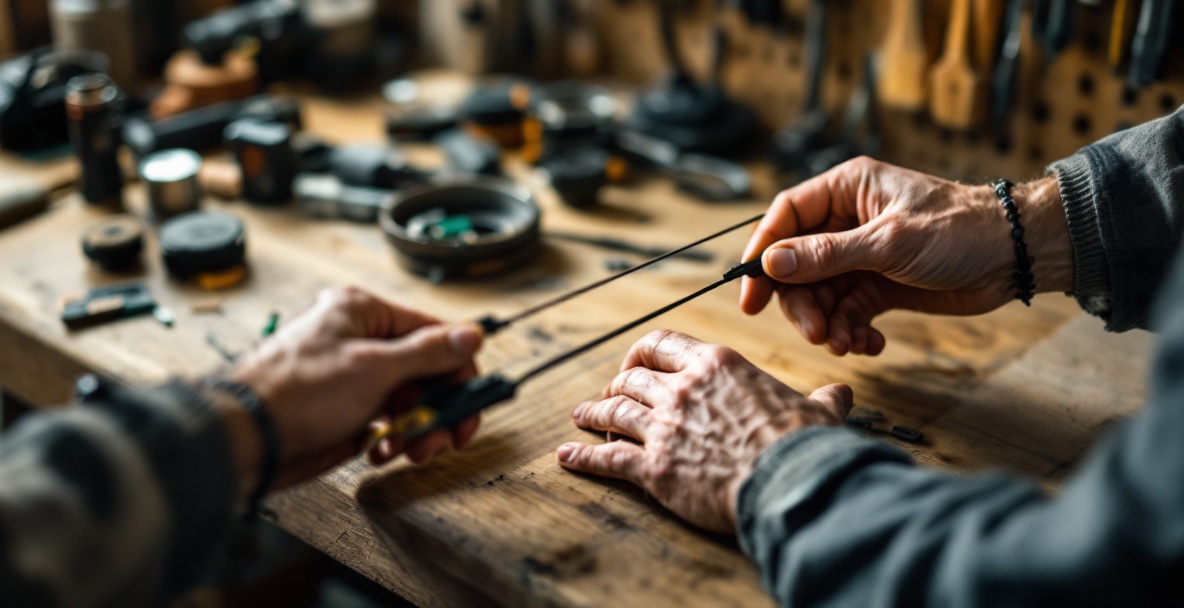
Fixing a Twisted String
A common nuisance is a twisted string. Sometimes, after stringing, you may notice that the string does not lie evenly along the limbs. This misalignment can reduce your accuracy and put uneven pressure on the bow. To correct a twist, hold the bow flat and gently rotate the string in the opposite direction of the twist. For heavy twists, you might need to unstring and start over. Taking preventive measures such as using a bow stringer and proper storage can help avoid twists and ensure a smooth shooting experience.
Spotting a Mis-Strung Bow
There are clear signs that your bow is not strung correctly. If the bow looks off-balance or the string does not sit centered in the grooves, something isn’t right. You may also feel that the string is too loose or too tight, or hear strange creaks when drawing the bow. Changes in arrow flight or accuracy can be extra clues. If you notice these issues, it is best to unstring the bow and start again. Taking extra time to get it right can make every shot count and keep your equipment safe.
When It’s Time for a New Bowstring
Watch your bowstring for signs of wear. Regularly inspect the serving area and the loops where the string attaches to the bow. If you see frayed strands, extra fuzz that waxing won’t fix, or parts of the string that look worn down, it may be time to replace it. Most recurve bow strings need replacing every 1-2 years, though this varies with usage and storage. Notice a drop in arrow speed or inconsistent grouping that isn’t due to your technique? A new string can restore consistent performance and keep you shooting safely. For more on this, see USA Archery's safety guidelines.
Final Thoughts: Aim for Perfection Every Time
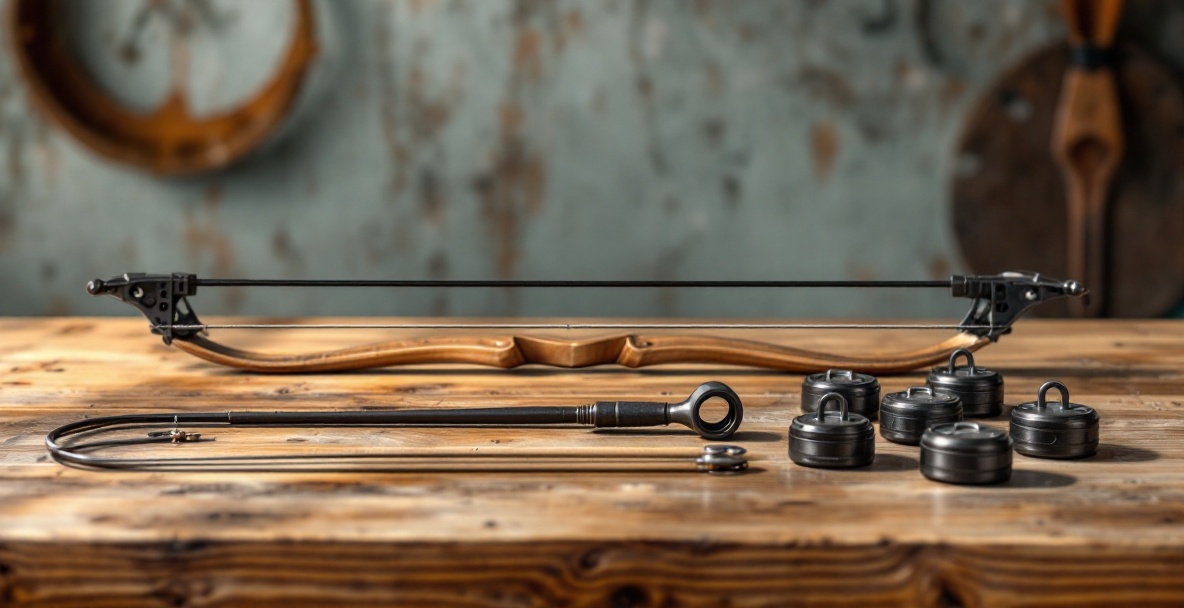
A bow strung the right way sets you up for every great shot. By following these steps, you not only protect your equipment but also set yourself up for improved accuracy and reliability. Remember, stringing is just one part of bow care — regular checks, smart storage, and the right accessories all count toward better archery. OneX Archery is here to help you get the most out of your practice. Our precision-engineered stabilizer weights work hand in hand with a well-maintained bow to provide the balance and stability needed for that perfect shot every time.
Ready to take your archery to the next level? Visit OneX Archery today to explore our range of precision-engineered stabilizer weights designed to enhance the performance of your properly strung recurve bow. Our stackable system allows for custom weight configurations that can be fine-tuned to your shooting style, giving you the edge you need whether you're competing or practicing.
Leave a Reply