Kick Off Your Archery Setup with Bow Sights
Welcome to precision archery! If you’re trying out bow sights for the first time, you probably already know they can change your shooting game. Getting a sight on your bow might feel tricky at first, but with clear directions you’ll soon enjoy better accuracy and boosted confidence. You may wonder if installing the sight is a DIY job or if you need a pro. The truth is, with a handful of basic tools and careful steps, most archers can handle this setup on their own. This guide will take you through every step, making sure your sight sits perfectly so you can hit your target time after time.
"It might seem daunting at first to attach a bow sight, but following a clear plan can be a game changer for your accuracy and confidence."
Why a Solid Setup Makes a Difference
Putting your bow sight on right is not just about screwing a part onto your bow; it builds the base for every arrow you shoot. A well-adjusted sight gives you a steady aim point so your arrows fly true. If the sight shifts or sits crooked, you risk missing your mark and feeling frustrated. A snug fit also keeps your gear safe. A loose sight can become dangerous, causing damage to your bow or even injury. Spending a few extra minutes to secure it properly will pay off in consistent performance and lasting equipment health.
| Setup Quality | How Your Arrows Group | Gear Longevity |
|---|---|---|
| Tight, Secure Installation | Arrows group evenly, so you adjust less | Bolts hold firm and keep your sight true for many seasons |
| Loose or Misaligned Setup | Arrows fly unpredictably and you waste time | Faster wear on your bow and increased risk of sight damage |
This guide covers each step for installing your bow sight, along with tips on the right tools and adjustments. When combined with quality stabilizer weights from OneX Archery, a proper setup will help reduce vibration, improve balance, and give you a more enjoyable shooting experience.
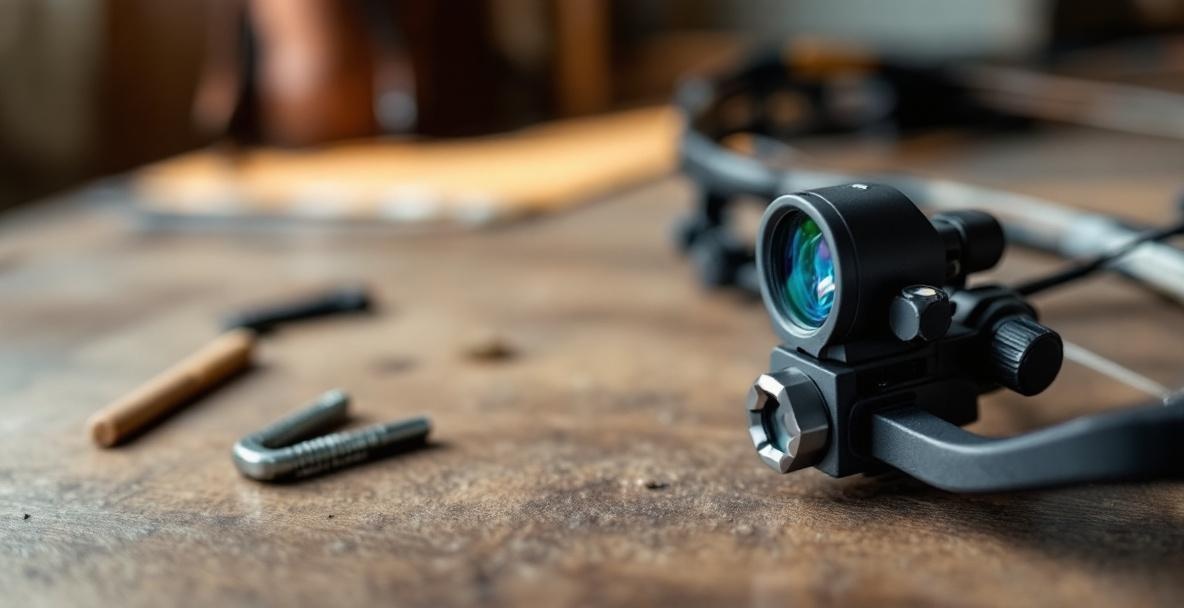
Collecting the Tools and Gear You Need
Before you start mounting your new bow sight, gather all your tools and gear. Having everything at hand makes the process smoother and prevents unnecessary stops. OneX Archery knows that good planning is the first step to a flawless installation.
The Essential Tools
You’ll need a few key items to get this job done right. Here are some must-haves:
- Allen wrench set (typically 1/16" to 3/16")
- Small Phillips and flathead screwdrivers
- Needle-nose pliers
- Bow vise or stable mounting solution
- Blue Loctite (thread locker)
- Microfiber cloth
- Level (preferably a bubble level designed for archery)
A key tool in your kit is the Allen wrench set because most bow sights come with various hex bolts that need careful adjustment. Use wrenches with comfortable grips so you can keep steady control. Although a bow vise isn’t required, it holds your bow firmly while you work, making precise adjustments easier and reducing any chance of accidental damage. A small drop of blue threadlocker on each screw, applied after your final tweaks, helps keep everything secure without making future changes a hassle.
| Essential Tool | Main Job | Quick Tip |
|---|---|---|
| Allen Wrench Set (1/16"–3/16") | Tightens and adjusts the sight bolts | Use ones with comfy grips for better control |
| Blue Thread Locker | Stops screws from loosening | Just a small drop after final tweaks |
| Bow Vise | Holds your bow steady | Set it at eye level to prevent neck strain |
| Bubble Level | Ensures the sight is level | Check it again after a few shots during your initial setup |
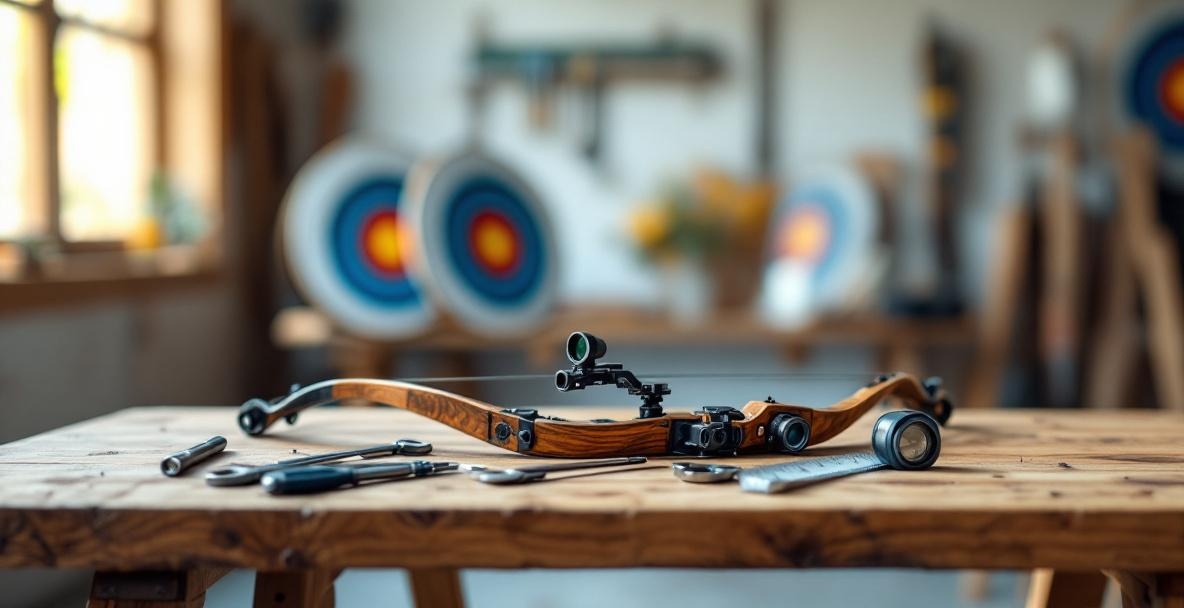
Finding the Right Bow Sight
Choosing a bow sight is as important as having the right tools. The best sight for you depends on your shooting style, experience, and goals. Many archers start with a 3-pin sight, which offers a good balance between ease and precision. There are a few types to consider, each with distinct benefits: fixed-pin, single-pin adjustable, and movable or multi-pin slider sights.
| Sight Type | Who It Suits | Adjustment Speed | Pin Count | Big Benefit |
|---|---|---|---|---|
| Fixed-Pin (3, 5, 7) | Hunters with set distance markers | Instant adjustment | 3–7 | Multiple preset yardages with no on-the-fly dialing |
| Single-Pin Adjustable | 3D shooters and target archers | Moderate – requires dialing | 1 | Uncluttered sight picture with precise yardage calibration |
| Movable/Multi-Pin Slider | Versatile hunters needing varied distances | Quick once the range is known | 1–3 | Combines quick setup with an extended range option |
When shopping for a sight, check its construction quality and materials. Aluminum and carbon fiber are popular because they are strong yet light. A larger housing might give you a wider view but can add extra weight. Consider the brightness of any fiber optics for low-light use, and look for tool-free adjustment knobs if you plan on tweaking the sight often. Your budget matters, but spending a little more now can lead to better accuracy and durability in the long run. Basic sights start around $50, while mid-range ones range between $100 and $200. A sound investment in a quality sight can grow with your skills rather than holding you back; learn more about your overall archery equipment setup.
Easy Steps to Install Your Bow Sight
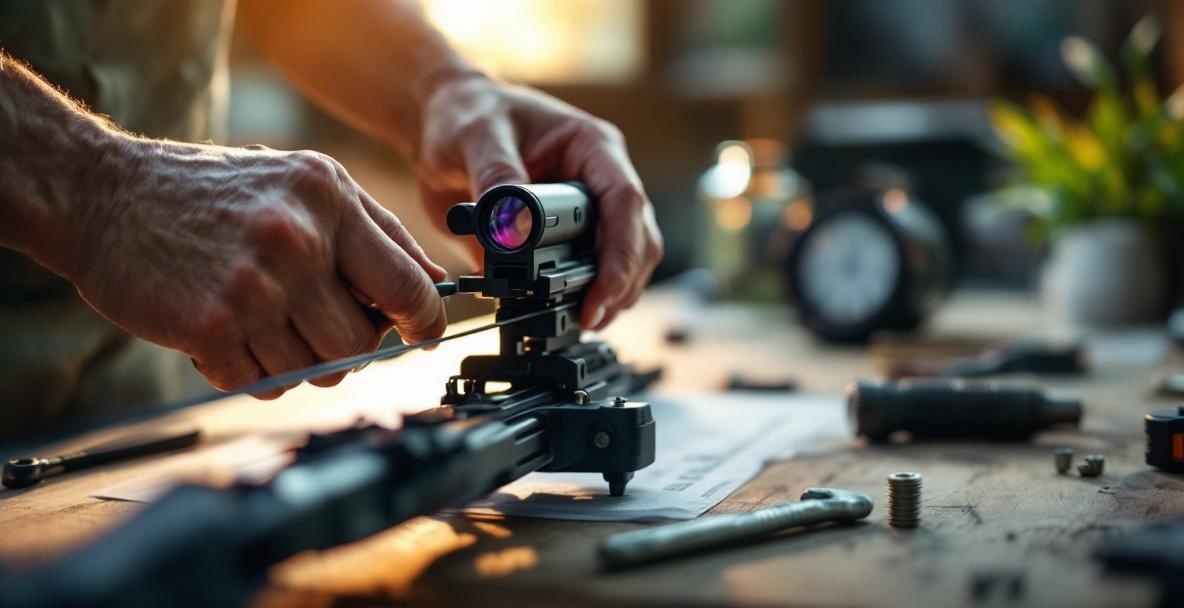
With your tools and gear ready, let’s get to work on installing your bow sight. Although it might look challenging at first, careful attention and steady hands will have your sight mounted in no time. OneX Archery has broken the process into steps that are easy to follow.
Getting the Sight in Place
Start by finding the mounting holes on your bow’s riser. Most compound bows have pre-drilled holes on the side from which you shoot. Secure your bow in a vise or on a firm surface so it doesn’t move while you work. Then, line up the sight’s bracket with these holes and slide in the bolts. Keep them loose at first so you can fine-tune the fit. If your sight came with a mounting block or adapter, attach that following the manufacturer’s instructions before installing the main sight unit. Once everything is in place, check that the sight sits level on your bow. Even a small tilt can throw off your aim. Tighten the bolts gradually in an alternating pattern; this spreads the pressure evenly and stops any warping. Make sure not to overtighten, as that may damage the sight or your bow.
Setting Up the Pins
With your sight secure, the next task is to adjust the pins, the key feature for lining up your shots. Most sights have several pins, each scaled for a different distance. Start with the top pin, which is usually set for the closest range (commonly around 20 yards). Hold your bow in your shooting stance (no arrow needed) and look through the peep sight at the pin housing. The pins should be centered and clear. If they’re off, use the windage and elevation adjustments to get them spot-on. Different sights use either hex screws or small dials for these tweaks, so make sure to adjust them slowly.
"If your arrows land left, move the sight left; if they fly too high, adjust upward. Small changes go a long way."
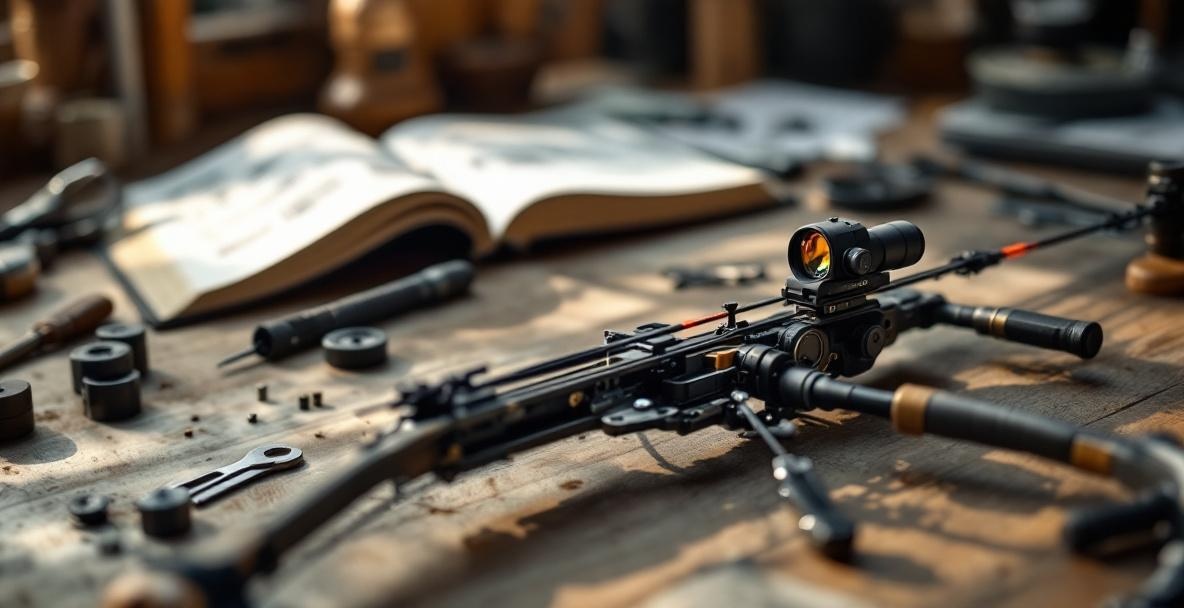
Finishing Touches on Your Setup
After the initial setup, it's time for the final tweaks. Take your bow to a safe area and shoot a few arrows to see where they land. Notice any shifts in your arrow groups and make tiny adjustments to the sight accordingly. Even a small move can change the impact point dramatically, so take your time. If your sight has a third-axis adjustment, use it to keep everything level when shooting at different angles. This feature is particularly useful for hunters shooting from varied positions, like tree stands or on hilly terrain. Check your bubble level after tilting your bow, and if needed, follow the instructions in your sight’s manual for the third-axis setup. For more detailed advice on mounting various sight models, always refer to the manufacturer’s guidelines. Finally, once you’re happy with the settings, lock down all the screws and fasteners. Give everything one last check to make sure nothing is loose, as even a slight movement can change your shot. A well-installed sight, paired with accessories like OneX Archery stabilizer weights, will provide a stable and consistent shooting platform.
Fixing Common Setup Hiccups
Sometimes even careful work can lead to a few hiccups with your bow sight. If things don’t feel quite right, don’t worry; these issues are common and easy to fix. At OneX Archery, we’ve seen these little bumps before, and here’s how to smooth them out. A well-tuned setup makes every shot count, so it’s worth your time to fix these problems.
"A sight that is not securely mounted can be dangerous, causing damage to your bow or even injury."
When Things Feel Loose
One frequent problem is a sight that feels loose. If you notice even a small wobble when you touch it or your arrow groups start changing, it might be time to check the attachments. Look over every screw and bolt that connects the sight to the bow’s riser. Use your Allen wrench or screwdriver, and tighten each connection in a star pattern so that the pressure is even. This method prevents any one side from being over-tightened, which could damage the threads or the sight housing. Tighten just enough that the sight does not move when you apply moderate pressure.
After securing everything, apply a tiny drop of blue threadlocker to the threads. This extra step helps keep the screws from loosening with every shot, ensuring your sight remains solid and works well with quality stabilizer weights to give you a stable shooting platform.
When Your Pins Are Off
If your arrows keep landing off to one side, you might be dealing with misaligned pins. This common issue can result from a slight error during installation or from the sight shifting over time. First, check that your sight is completely level with a bubble level. Even a little tilt can throw off the pin alignment. Focus on your 20-yard pin first and make small adjustments using the micro-adjustment knobs for windage (left-right) and elevation (up-down). Turn the knobs slowly-about 1/8 of a turn at a time-and test with a few arrows after every tweak. Adjusting the pins step by step is key. For more ideas on refining your setup, visit our guides on archery equipment selection and vibration dampening accessories.
Always keep safety in mind when making adjustments, and follow your equipment’s safety guidelines to avoid any mishaps.
Wrap Up: Sharpen Your Aim
Great job! You’ve finished installing your bow sight and taken a big step toward more precise shooting. This upgrade will noticeably boost your consistency and accuracy, whether you’re at the range or out in the field. Remember, fixing your sight is only the start. The true improvement comes when you pair your new setup with regular practice and smart techniques. Soon, you’ll enjoy tighter arrow groupings and a surge in shooting confidence.
What’s Next – Practice and Tips
Spend some time getting acquainted with your new sight before heading out for live shooting. While dry-firing is not recommended because it can hurt your bow, you can still practice your stance and sight alignment at home. Stand in your shooting position and bring your bow to full draw, aiming at different targets around your space. This practice builds muscle memory and makes the sight blend naturally with your aim.
When you’re ready to shoot for real, start at a short distance of about 10 yards to set your sight properly. Take your time with each shot and focus on keeping your form steady. It can be very helpful to record your sight settings in a notebook or smartphone app, so you have a reference as you extend your range and make more precise adjustments.
Think about adding quality stabilizer weights into your setup along with your new sight. A balanced bow with the right weight distribution cuts down on movement and gives you a steadier aim. When everything works in harmony, you get consistent accuracy and less vibration, letting your natural skill shine through.
Try shooting in different conditions to really master your setup. Work on uphill, downhill, or under changing light conditions to see how your sight performs. Regular, focused practice builds confidence and makes every shot count. And never overlook the importance of reducing vibration; a complete system with a good sight, stabilizer weights, and proper dampening will let you achieve your full shooting potential.
Ready to take your archery to the next level with your newly installed sight? Visit OneX Archery to explore our precision-engineered stabilizer weights that perfectly complement your sight setup for unmatched accuracy and performance. Your journey to bullseye precision is just beginning!
Leave a Reply