The first time I tried attaching feathers to my arrows, it was an absolute mess. My feathers were off, glue was splattered everywhere, and my arrows curved wildly like a twisty river. With plenty of practice, a lot of patience, and learning from my own mistakes, I turned that chaos into one of the most satisfying parts of my archery journey. Making your own arrows not only saves you money but also builds a deeper bond with your sport that store-bought arrows just cannot match.
Why Making Your Own Arrows Feels So Good
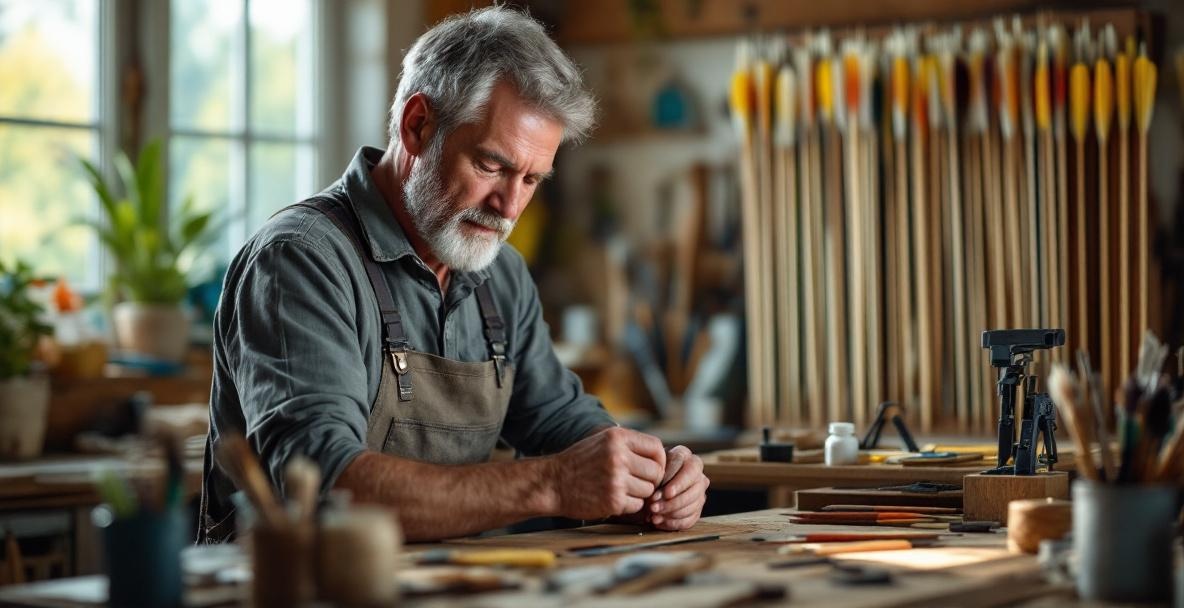
My Early Struggles and How I Learned Fast
We have all been there – watching an expensive arrow fly off course or break just when you need it most. I still remember a practice session before a local competition when three of my ready-made arrows ended up with ruined feathers and no backup in sight. That frustrating day pushed me to learn the craft of arrow fletching. Every arrow I now build feels personal and has saved me countless dollars along with sparing me many future headaches.
The Perks of Making Your Own Arrows
There are plenty of reasons to craft your own arrows that go well beyond saving money. When you build your arrows, you control every little detail. Tailor your arrow's height, length, and twist just the way you like it to fit your shooting style perfectly. This kind of custom setup is hard to find in mass-produced arrows. Along the way, you also learn how arrow flight works, which boosts your overall archery skills. Soon, you will notice small tweaks can lead to big improvements in accuracy, and nothing beats hitting your target with an arrow you made yourself.
Finding the Tools and Supplies You Need

Must-Have Tools for Arrow Building
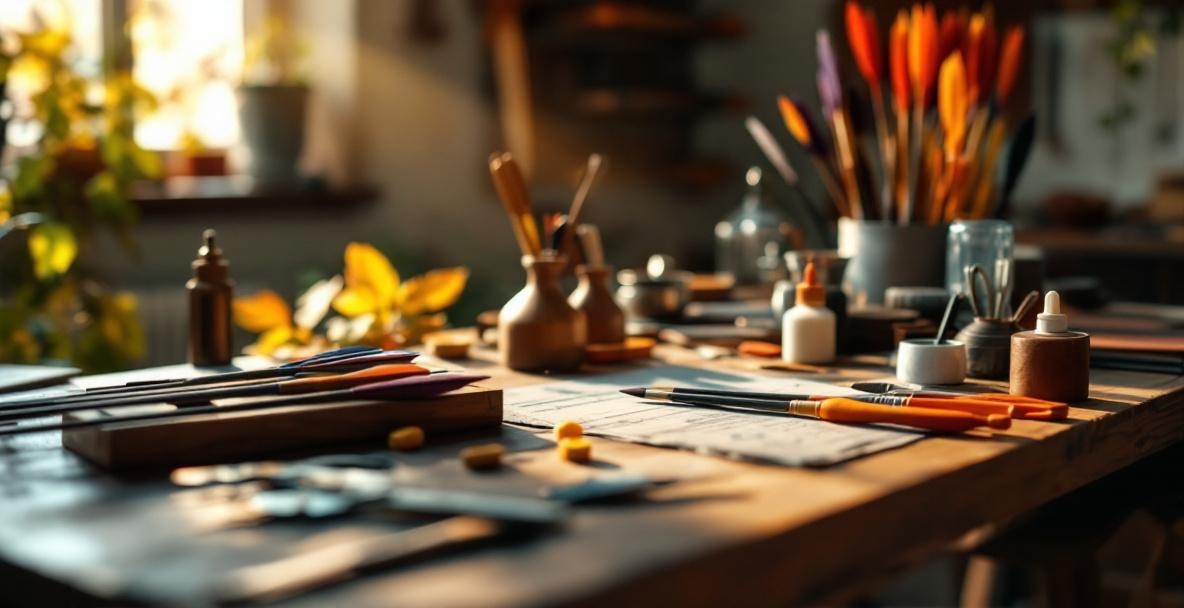
A sturdy fletching jig is the heart of any arrow-making station because it holds your arrow shaft and feathers in perfect alignment while you apply the glue. For beginners, a simple single-feather jig works great since it offers precise adjustments and consistent results. Although high-end jigs can cost over $100, you can find reliable starter models for around $30-50. On top of the jig, you will need a sharp knife or good fletching scissors to trim your feathers neatly, some fine-grit sandpaper to smooth your arrow shafts, and cotton swabs to put on the glue accurately. A digital caliper also comes in handy to make sure your feathers are evenly spaced, which really affects how the arrow flies.
Picking the Best Materials
When you start, you have a choice between traditional feathers and modern plastic vanes. Turkey wing feathers are popular because they are light and cause less drag, making them perfect for classic bows and indoor shooting. They also forgive a less-than-perfect release. Plastic vanes, on the other hand, are tougher and handle bad weather better, which is great for outdoor shooting or compound bows. Equally important is the glue you choose. Super glue (cyanoacrylate) works well with plastic vanes on carbon or aluminum shafts, while a flexible fletching cement is best for feathers because it bends with the arrow when shot. Always choose adhesives meant for archery so they can stand up to the pressure of arrow flight.
Tips for Buying the Right Gear
Investing in quality supplies makes a huge difference in how well your arrows perform and last. Don’t be tempted to skimp on things like glue or feathers because cheap materials often lead to frustration and poor performance on the range. It is best to buy from stores that specialize in archery rather than from general craft shops. Many of these stores offer complete starter kits that pack a jig, adhesive, and a variety of fletchings, which takes out the guesswork of picking each item on your own.
Follow These Steps to Make Your Arrows
Getting Your Arrow Shafts Ready
Before anything else, it is key to get your arrow shafts ready. Start by cleaning them well with isopropyl alcohol or a special cleaner to remove oils, dirt, and any factory residues. Making sure the area where your feathers will be attached is spotless is very important for a good bond. This step might seem extra, but a well-prepped shaft can change everything. For carbon shafts, lightly sand the area with 400-grit sandpaper to create a tiny rough surface that holds the glue better. Aluminum shafts usually do not need sanding, but you must make sure they are free of rust or other blemishes. After preparing the shafts, try not to touch them too much because the oils from your hands can weaken the glue.
Attaching the Feathers
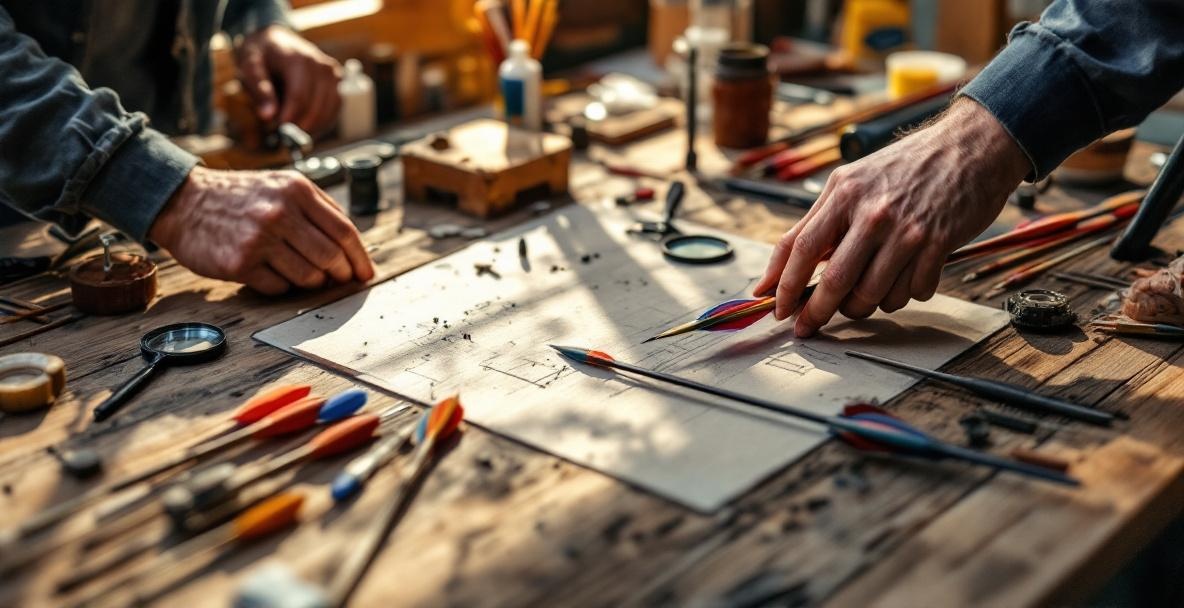
Now comes the fun part. Start by setting up your fletching jig as the instructions say and adjust it to the angle that suits your shooting style. Many traditional archers choose a slight twist for right-handed shooters and the opposite for left-handers, while some compound archers prefer a straight-on setup. The angle you pick affects how your arrow spins and flies. Next, run a thin, even line of glue along the base of your first feather and carefully secure it in the jig. Make sure your arrow shaft fits snugly in the jig and that everything is lined up correctly. Hold the setup gently but firmly for about 30-60 seconds, as suggested by your glue instructions.
Now, the Rocky Mountain Elk Foundation offers an excellent guide on how to fletch your own arrows that gives extra tips if you are into hunting, especially when it comes to stabilizing broadheads. Once you release the clamp, let the glue set for a few minutes before you move the jig for the next feather. Many archers use a setup of three feathers spaced evenly at 120 degrees, although some add a fourth at 90-degree angles for extra balance. Consistent spacing, kept by your jig, is key to making arrows that fly true.
Last Details to Perfect Your Arrows
After all your feathers are attached and the glue has fully cured, usually after 24 hours, take a close look at each feather for any spots where the bond might be weak. It helps to add a few extra drops of glue both at the front and back of each feather so they stick even better. These little extra drops keep the feathers from peeling off if your arrow hits a target or brushes against something. For traditional feather arrows, trim off any barbs that extend past the base for a cleaner look and smoother flight. If you are using plastic vanes, inspect the edges carefully and snip away any excess mold with a sharp pair of scissors.
For a visual walk-through, Instructables offers a detailed step-by-step tutorial loaded with helpful photos. Finally, put a small dab of clear nail polish or a special arrow sealant on the thread wraps at the tip of wooden arrows to fend off moisture and keep them tight. No matter what type of arrow you make, always double-check that the nocks are seated nicely and in proper line with the feathers.
Fixing Common Problems
When Feathers Won’t Stay Straight
A common challenge for new fletchers is that the feathers do not stay straight or begin peeling soon after they are attached. If you see that your feathers are crooked, start by checking your jig to make sure it is aligned properly. Sometimes the jig needs a little tweak or the arrow does not sit in it just right. A minor adjustment to the clamp or the indexing system can often set things straight.
If the feathers feel loose, it is likely that the arrow shafts were not prepared thoroughly enough. Make sure you clean and, when needed, lightly sand the shaft before applying any glue. Also, check that your glue is fresh and has not been exposed to air for too long because old glue loses its bonding power. If the problem continues, you might need to try another type of adhesive made specifically for your material.
Hunters often face extra challenges with arrow durability. North American Whitetail offers specialized advice that can help you build hunting arrows strong enough for field use, including extra reinforcement techniques that minimize fletching failure at critical moments.
Temperature and humidity play a big role in how well your glue sets. Most glues for fletching work best between 65-75°F and in moderate humidity. If it is too dry or too damp, the adhesive might not cure as expected, so keep these factors in mind if you run into problems.
Getting Your Arrows to Fly Right
Even if your feathers are perfectly attached, your arrows may still act strangely if they are not properly balanced. Roll each arrow on a flat surface to see if it wobbles; any imbalance can make the arrow veer off course. For wooden arrows, it might help to adjust the weight at the tip or choose shafts that are more uniform in density.
It is also important that all your arrows have the same weight. Using a grain scale to weigh each arrow helps you group together those that perform similarly. Our precision stabilizer weights can show you just how important balanced weight is, even though they are mainly designed for bows rather than arrows. If your arrows keep drifting to one side despite perfect feather placement, try adjusting the angle on your jig. A slight change in angle can allow for better stability for arrows that fishtail, while slightly less twist might help if an arrow seems to overcompensate and lose speed quickly.
Final Thoughts on the Art of Arrow Making
A Quick Recap of What You've Learned
Making your own arrows turns a routine task into an engaging craft that deepens your love for archery. You learned about the must-have tools and best materials, got clear instructions on how to prep and attach each feather, and picked up tips on solving common issues along the way. With practice, you will create arrows that feel custom-made for your shooting style.
Keep Going and Enjoy the Process
Give your arrow-making skills a real try and see how much your shots improve when you control every detail of your gear. It might take several attempts to get everything perfect, but the rush of nailing a shot with an arrow you built yourself is well worth the effort. Explore our collection of stabilizer weights at OneX Archery to boost your arrow balance and shooting performance. Visit OneX Archery today and take the next step toward a more personal archery experience.
Leave a Reply