Ready to nail your next shot? Installing the right bow sight can change your archery game, turning frustrating near-misses into reliable bullseyes. At OneX Archery we have seen archers boost their aim by taking the time to install and adjust their equipment correctly. If you are getting ready for a contest or planning a hunting trip, this guide will show you step by step how to mount your sight for the best precision.
Why Your Bow Sight is a Game Changer
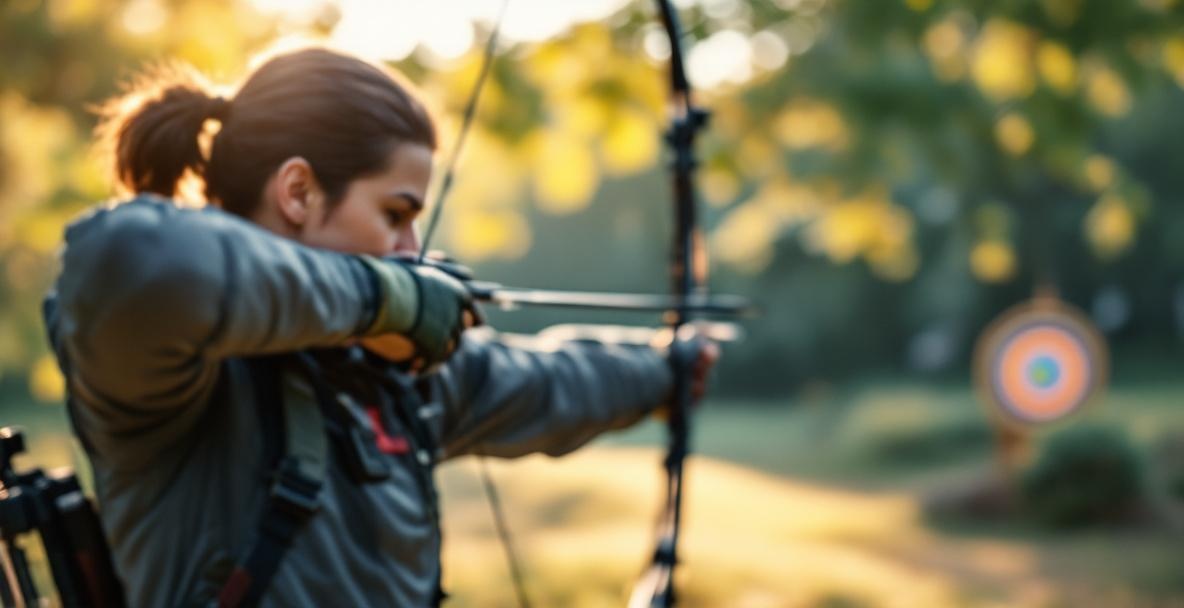
Archery demands steady focus and careful technique. A well-mounted bow sight gives you a solid reference when you aim, so you know exactly where your arrow will go. Instead of depending only on your instinct, the sight offers a clear target that helps you line up your shot better. This small upgrade can make a big difference when every arrow counts.
Overcoming the Accuracy Struggle
Many archers face the challenge of keeping their shots consistent. Without a properly set-up sight, you may feel like you are simply guessing where your arrow will land, which can be very discouraging. A sight that is not adjusted to your shooting style or equipment can easily lead to wild groupings and poor results. Even skilled archers can benefit from a quick check on their sight alignment. In fact, many times those missed shots come from a sight that needs a little extra care rather than from bad form. With the right configuration, you will notice tighter groupings and a boost in confidence every time you shoot.
Getting Ready: Tools and Setup
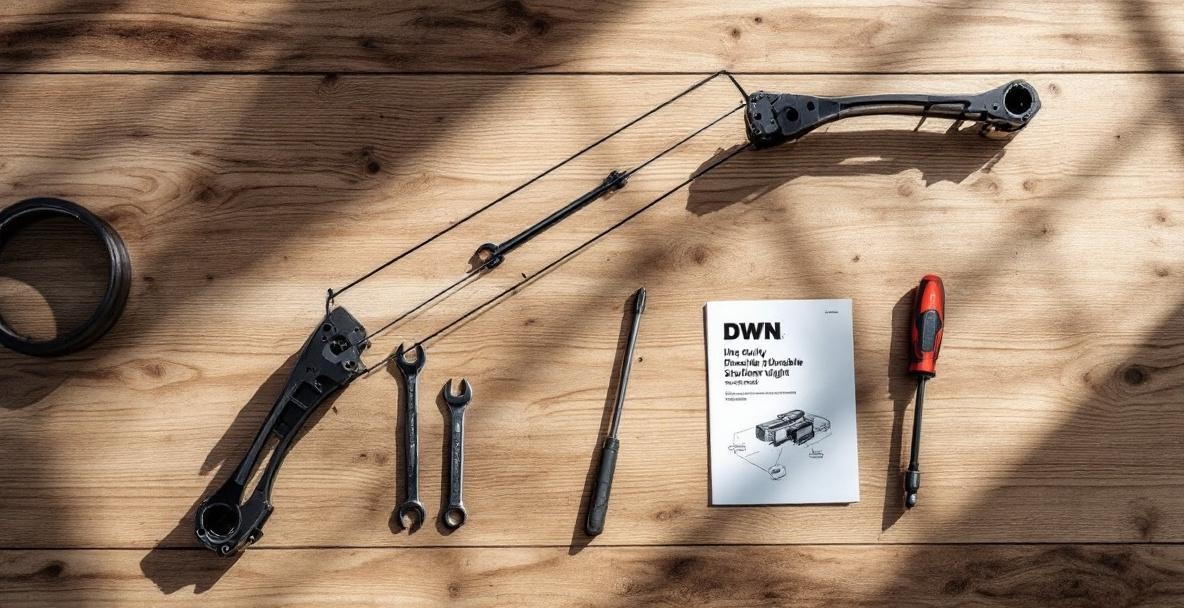
Before you start putting your sight on, take a moment to gather your tools and prepare your bow. This simple step can save you from trouble later and makes the process much smoother. Being organized and ready with proper tools leads to a better fit and smoother installation.
Tools You Can’t Do Without
To set your bow sight correctly, you need the right equipment. Most of the time, you will require a set of Allen wrenches that match the bolts on your sight and bow. You will also need a small level to check that everything is perfectly straight. A bow vise is great for keeping your bow steady while you work, and a handy flashlight can help you see screw holes and alignment marks when the light is dim. Lastly, a bit of blue Loctite thread locker can secure your bolts after you finish your adjustments, keeping the sight firmly in place without preventing future tweaks.
Check It All Before You Begin
Before you attach your new sight, take a careful look at your bow’s riser to note the mounting holes. Most compound bows have standard mounting spots, but it never hurts to double-check that your sight will fit properly. Make sure that the surface is clean and free of any debris so you can get the best alignment possible.
Take a good look at the sight itself before you begin installing it. Check that every part is there and undamaged. If the sight came with a manual, read it to catch any special instructions from the maker. This is also your chance to get comfortable with how your sight adjusts for windage and elevation.
Step-by-Step: Mounting Your Bow Sight
Now that your bow and tools are ready, it’s time to mount the sight. This step needs patience and care, but a careful setup gives you a solid foundation for every shot you take.
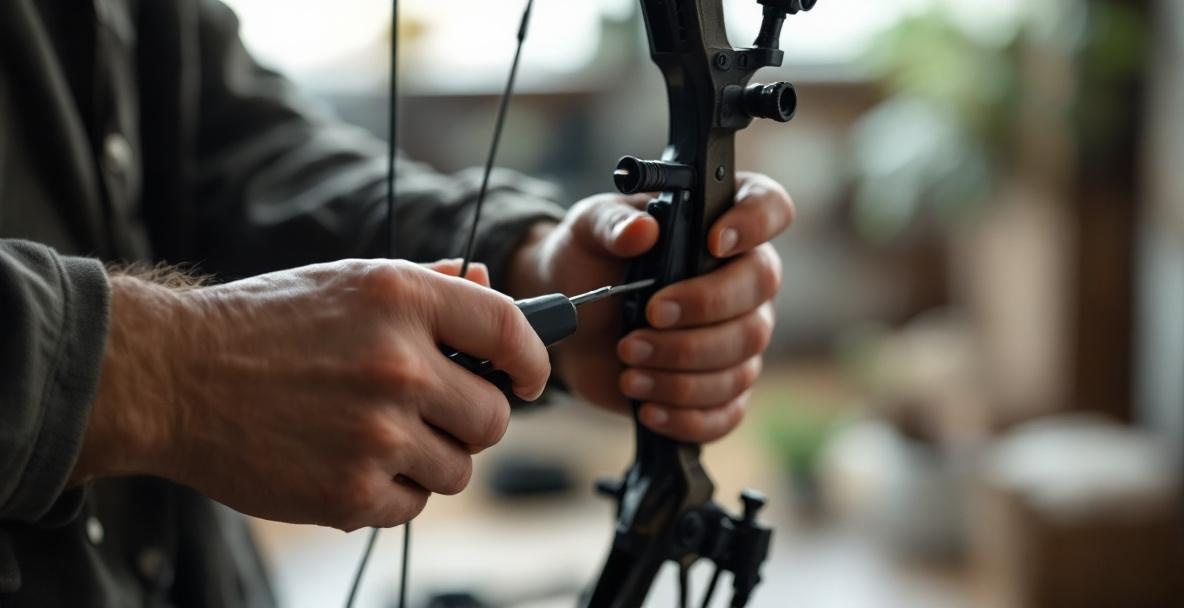
Mounting the Sight
Start by aligning the sight with the mounting holes on your bow’s riser. Insert the mounting bolts through the sight bracket and into the riser, but do not tighten them all the way just yet. Keeping them loose lets you adjust the sight as needed. For a right-handed shooter, the sight should rest on the left side of the bow; left-handers should mount it on the right side.
Next, adjust the sight so that the pins or the scope housing sits right in the center of your view when you draw the bow. Most sights let you move in both vertical and horizontal directions. When you find a position that feels comfortable, tighten the bolts enough to keep the sight in place while still leaving room for small corrections.
Finally, check to be sure the sight is perfectly level. Many models come with a bubble level, and if yours lacks one, you can use a small carpenter’s level. A level sight is important because any tilt can make your arrows drift to one side at different distances.
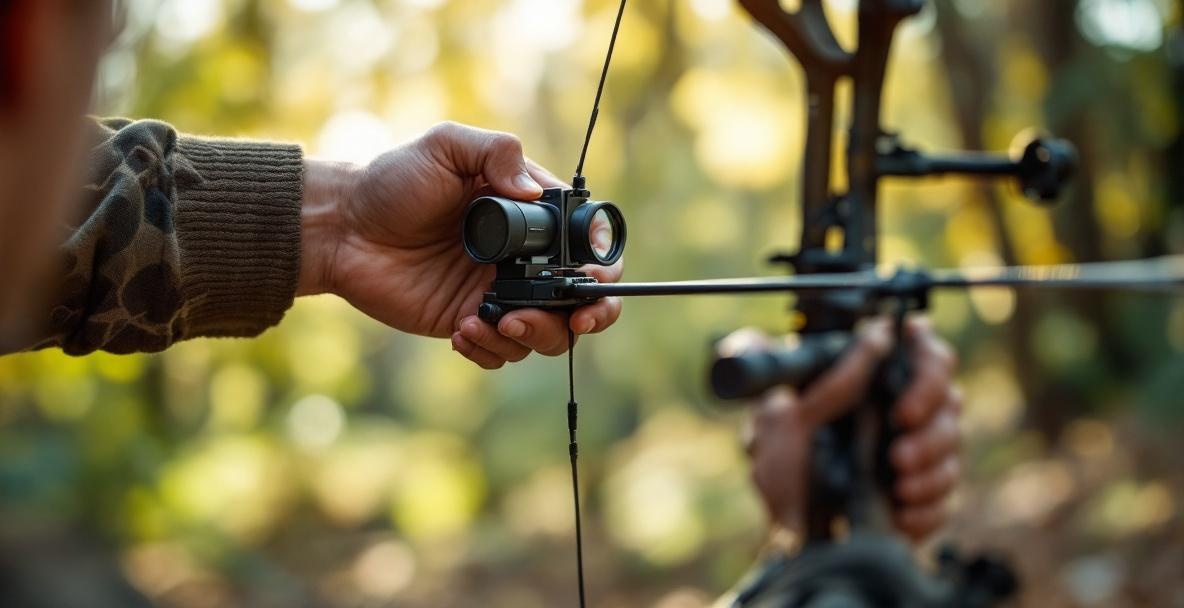
Setting Up the Sight Pins
Modern sights usually have several pins for different ranges, such as 20, 30, and 40 yards, and sometimes even farther. Start by setting your top pin for the shortest distance. This gives you a base for all the other pins.
Begin at your nearest mark and fire a small group of arrows. If the arrows hit too high, move the pin upward. If they land too low, adjust the pin down. Work slowly because even a small shift can make a big difference. Once the top pin is set, repeat this process for each longer distance, making sure every pin is dialed in to suit its range. Taking your time now means fewer headaches later when you are out in the field.
For extra help with these adjustments, you might want to check out the detailed instructions at bowhunting.com. Many archers say that these step-by-step tips make a real difference when fine-tuning their sight.
Fine-Tuning Your Setup for Better Shots
Once the sight is mounted and the pins are set, spending a few extra minutes fine-tuning can bring your shooting to a whole new level. Small adjustments can cause a big impact on how your arrows group, and a bit of patience here goes a long way.
Seeing How You’re Doing
The real test comes when you start shooting groups. Begin by firing three to five arrows at your closest range and carefully look at the groups. If the arrows clump together but miss the bullseye, a slight shift in the sight might be needed. If the arrows fly all over the target, it might be more about your shooting form. Noticing these details is key to improving your aim.
After you’ve made your adjustments at close range, move on to test the other pins. Weather conditions such as wind can affect your shots, so try to practice on a calm day if you can. Watch how your arrow groups change with distance; wide groupings at longer distances can sometimes point to tuning issues with the bow itself.
If you need more ideas on troubleshooting, check out the insights at Shooting Time. They offer helpful advice on solving common problems during sight testing.
It also helps to keep a simple notebook where you record your sight settings. Jot down the distance, the pin adjustments you made, and any special conditions like wind. This record becomes a handy guide when you need to make changes later or switch arrow types.
Tweaking for Precision
Sometimes, your arrow groups may still miss the center by a little bit. In that case, make very small adjustments to your sight pins. Most quality sights allow you to tweak them with adjustment screws. Turn the screws in small increments, usually about a quarter-turn at a time, then shoot another group to see the effect. Experimentation is the key to finding that perfect spot.
Also, notice how your sight performs in different lighting. Bright sunlight may affect the appearance of the pins compared to a cloudy day, which could change your aim. Some sights even let you change the brightness of the pins, so you get consistent results no matter the weather.
If you use your bow for hunting, think about how your entire setup works together. Extra weight from stabilizers or shooting from a high position may alter your aim. OneX Archery offers stabilizer weights that help balance your bow and steady your shots, making for a more reliable shooting experience.
Wrapping It Up: Hitting Your Mark and Moving Forward
The Main Takeaways
Setting up your bow sight takes a bit of time and care, but the payoff in improved accuracy is well worth it. Remember to start with all your necessary tools and make sure the sight is leveled properly. Spending the time to adjust each pin through careful test shots will help you enjoy steadier and more accurate shooting sessions.
Keep Practicing
Even with a perfectly mounted sight, practice remains crucial. Keep working on your shooting at different distances so you can build muscle memory and get used to how your adjustments feel. Pay attention to the effects of wind and light and adjust your technique when needed. Adding stabilizer weights from OneX Archery can further enhance your bow's balance and reduce hand shock, improving your overall performance with every shot.
Remember that installing a sight is not a one-time job. As you advance and try new techniques, you might find that you need to adjust your sight or upgrade to a new model. The skills you build now will serve you well throughout your archery journey.
Ready to take your archery to the next level? Visit OneX Archery to explore our precision-engineered stabilizer weights designed to complement your bow sight setup for maximum accuracy and performance. Our stackable, corrosion-resistant weights provide the perfect customization options for archers at any skill level, helping you maintain control and focus on hitting your target every time.
Leave a Reply