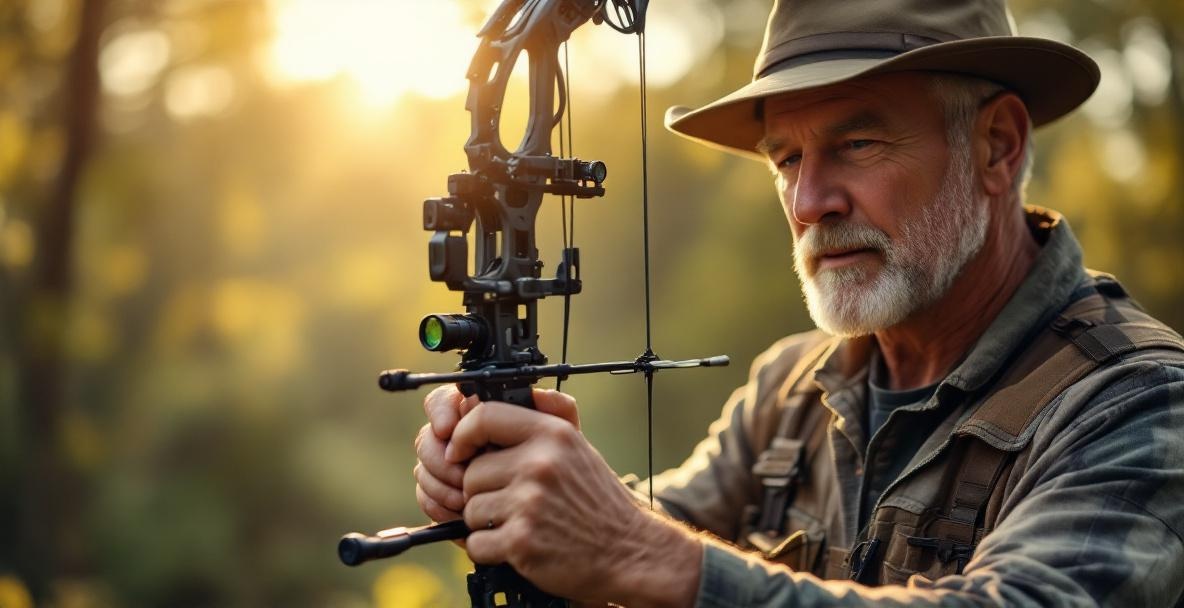
When you’re out at the range, every shot matters. A bow sight mounted correctly can turn missed arrows into solid bullseyes. If your sight isn’t set up right, even your best technique won’t help you hit your mark. Getting your gear dialed in is the secret to success, and at OneX Archery we know that a well-tuned bow sight makes the difference between a day of frustration and one full of confident shots.
Why a Bow Sight Can Change Everything
When the Arrows Just Won't Hit
We have all been there – you line up, you release, and your arrow simply does not go where you meant it to. Often, the problem isn’t your aim but a misaligned bow sight. When the sight does not match your bow’s natural shooting line, even the best form can fall short. This little misalignment creates a gap between your aim and the landing spot, and before long your confidence drops. Consistent accuracy matters when every shot counts.
How This Guide Can Boost Your Accuracy
Stick with us as we walk you through mounting, aligning, and fine-tuning your bow sight so you get the most from every arrow. We break down every step, starting with a simple mounting process and moving on to careful calibration through actual test shots. Whether you’re fitting your very first sight or upgrading your current setup, these tips will guide you to a setup that gives better arrow groupings and more trust in your equipment, so you enjoy each shot a bit more.
Get Your Tools and Ready Your Bow
Your Must-Have Tools
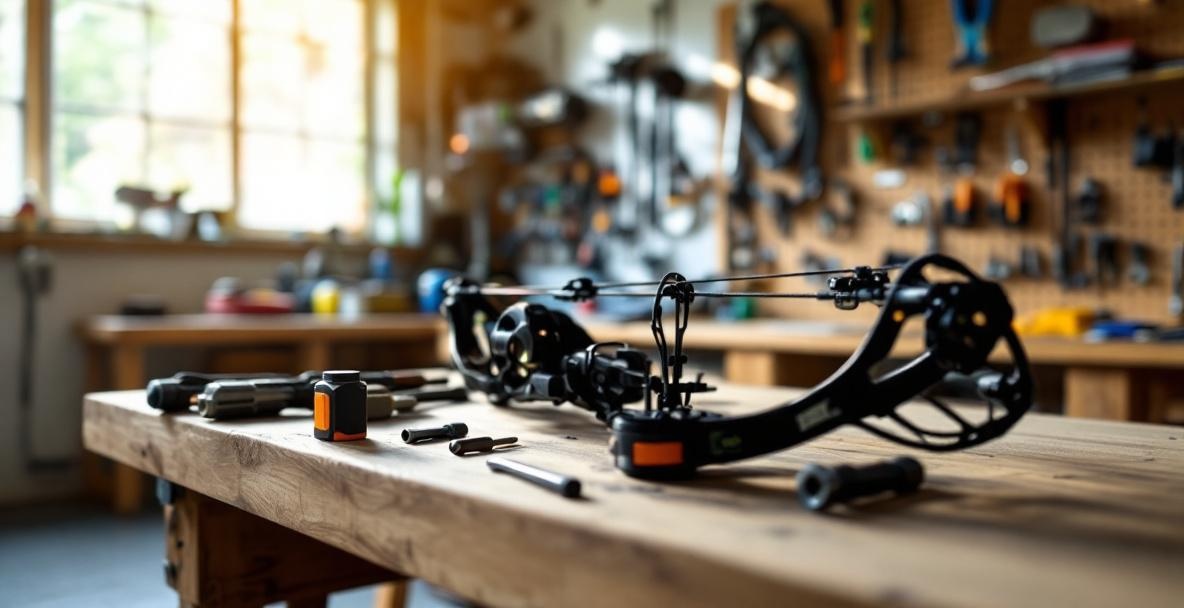
Before you begin, make sure you have all the tools you need so nothing interrupts your flow. Gather an Allen wrench set in the right sizes since most bow sights use hex screws for mounting and adjustments. A small level is key to keeping your sight straight, and a screwdriver might be needed for some models. Keep a bit of blue Loctite thread locker close at hand to hold everything together once you finish tuning. Having the right tools makes the installation go much smoother.
Positioning Your Bow
Set your bow in a steady spot where you can work easily on the riser. A bow vice works great, but a stable table with padding is just as fine if you’re careful not to scratch your bow. If you are replacing an old sight, remove it slowly and note its position along with any helpful markings. Look for the pre-drilled mounting holes on your bow’s riser that are meant for the sight. This step might seem simple, yet it lays the foundation for a setup that stays solid during all the adjustments ahead. A steady bow makes a big difference in the final aim.
Getting Your Bow Sight Aligned Right
Setting the Sight Bracket in Place
Start by setting the sight bracket on the riser. Align the bracket’s mounting holes with those on your bow and insert the screws, keeping them loose for now. Make sure the sight housing sticks out at a perfect 90-degree angle from the riser. This setup helps ensure that every adjustment you make later shows up right on your target’s horizontal and vertical lines. Proper positioning now saves you time later on.
Adjusting the Sight for a Good Start
With the bracket loosely in place, check that your sight is level when you hold your bow ready to shoot. Use your small level to line up the sight pin or housing perfectly; even a tiny tilt can push your arrows off course at longer distances. Keep adjusting until your level reads center before firmly tightening the screws in a crisscross pattern, much like you would on a car tire. This careful tightening stops the bracket from warping and locks in your correct setup. For detailed guidance on proper mounting techniques specific to different bow types, check out this comprehensive bow sight mounting guide. A steady base builds better shots.
Fine-Tune and Test Your Aim
Fine-Tuning by Taking Some Shots
Now comes the real proof – test shooting. Start close, at around 10 yards, to see how your changes affect your aim. Fire several arrows while keeping your form steady to spot any misalignment. Watch where your arrows cluster compared to your aim point. If your arrows consistently land in one direction, adjust the sight in that direction; for example, if they fly high, shift the pin upward. When you’re happy with your results at 10 yards, slowly move back in 5- to 10-yard increments and fine-tune as you go. This measured approach helps build a reliable sight picture for all distances. A little adjustment can make all the difference.
Troubleshooting Problems You Notice
If your arrows still don’t group together, double-check that nothing is loose. Even slightly loose screws can throw your setup off. If your sight appears level but the arrows drift left or right, the entire housing might need a slight rotation. For compound bow users, ensure your peep sight lines up correctly with the bow sight; at full draw, the peep should appear as a neat circle centered in the sight housing. Sometimes, your settings may seem to wander from one day to the next because of changes in your anchor point or extra pressure on the bow.
Archery experts at Shooting Time provide valuable troubleshooting tips for resolving common sight installation problems and keeping your accuracy on track. Fine-tuning your alignment is essential for consistent shooting.
Keeping Your Sight in Top Shape
Tips for Routine Care
Even the best-installed sight needs a bit of care to keep working its best. Take a few minutes before each session to check that all screws are tight, which stops everyday bumps or travel from undoing your work. Clean your sight pins often, because dust can build up and blur your aim. For adjustable sights that move, add a little lubricant to keep things smooth without attracting extra dirt. It can help to snap a few pictures from different angles once your sight is set correctly. Regular upkeep is key to making sure your setup stays true.
Tweaking for Different Lighting Conditions
A perfect sight sometimes needs small tweaks when the lighting changes. In low light, fiber optic pins may seem too bright, while in strong sunlight, shadows can fool your eyes. Some sights let you adjust the brightness of the pins so you get a clear view every time. You might even want a specific setup for hunting and another for competitions. Try out your sight in various light conditions to find what works best for you. Adapting your sight ensures your shot is on target, whatever the weather.
Wrap-Up: Nail Your Aim and Enjoy the Hunt
What to Remember
Taking the time to install and adjust your bow sight properly will pay off each time you take a shot. A firm mount and careful adjustments lay the groundwork for great accuracy. Stick to routine checks and minor tweaks so your sight always performs at its peak. Staying consistent in your maintenance is just as important as getting your shot right, and it builds your confidence shot after shot.
Next Steps and A Final Invitation
Now that your sight is set and your setup is dialed in, think about how you can boost your overall stability even more. The right stabilizer weights can balance your bow and keep vibrations to a minimum, which helps your shots become even more precise. Our stackable weight system lets you experiment until you find the perfect feel for your bow and shooting style. Ready to boost your shooting stability? Visit OneX Archery today to explore our range of premium stabilizer weights designed to work in harmony with your sight for unmatched shooting consistency. Your perfect shot starts with perfect balance!
Leave a Reply